E-Invoice Notifications & Dashboard: Features and How to Use Them | E Stream MSC

How to Check E-Invoice Notifications & Dashboard

E-Invoice Notifications

Description

E-Invoice Notifications are alerts or messages you receive from the e-invoicing system (like a government portal or accounting software) related to your electronic invoices. These help you stay informed about the status and issues of your e-invoices in real time.

What E-Invoice Notifications Usually Include:

  1. Invoice Submission Success
    • Confirms your e-invoice was submitted and accepted.
     
  2. Check which E-Invoices have been rejected by the buyer
    • Alerts you about errors (e.g., wrong GSTIN, missing fields).
     
  3. Pending or Processing Status
    • Shows that your invoice is still being processed.
     
  4. IRN (Invoice Reference Number) Generated
    • Confirms that a valid IRN has been created.
     
  5. Audit or Review Alerts
    • May notify you if your invoice is selected for review.
     
  6. Upcoming Deadlines or Reminders
    • Reminds you to submit invoices or correct errors before due dates.
     

How to check E-Invoice Notifications in SQL?

  1. Go to , Click MyInvois Check E-Invoice Notifications - Step 1
  2. Select Notifications Check E-Invoice Notifications - Step 2

What features are available in Notification?

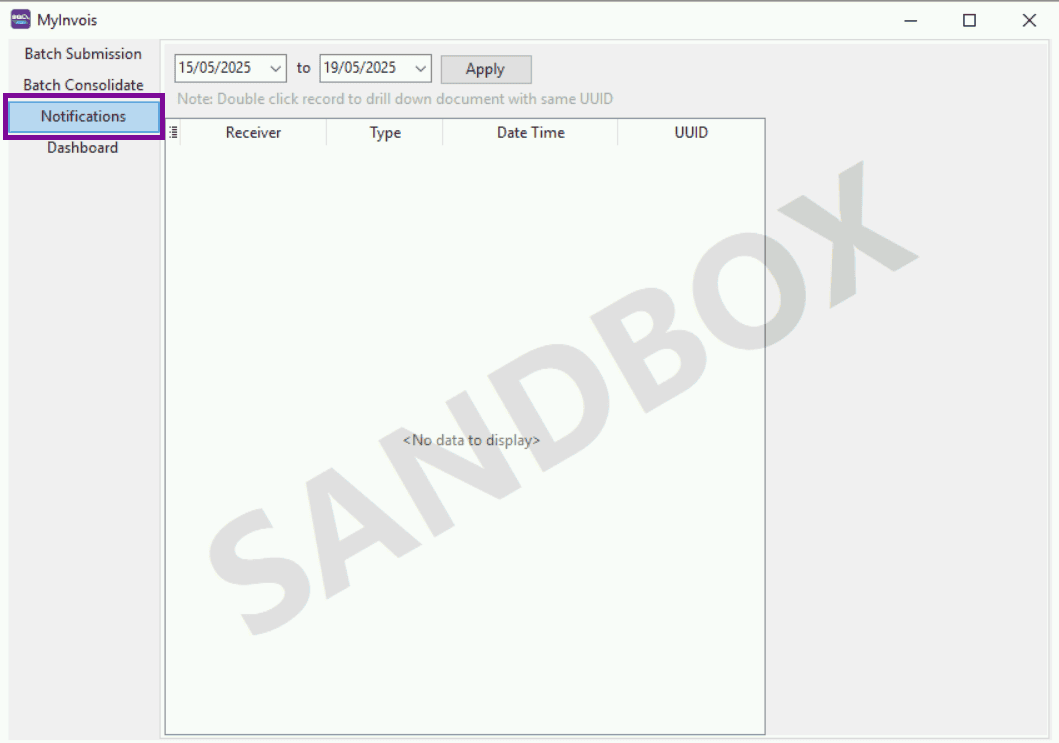
You can filter and retrieve data from no more than 120 hours

  • Example: 15/05/2025 – 19/05/2025(96 hours)

E-Invoice Notifications Features - Data Filtering

Click here to enter the MyInvois Portal and view the detailed content of the transaction
E-Invoice Notifications Features - View Details in MyInvois Portal

When the buyer rejects the E-Invoice you submitted, the UUID will be displayed here
E-Invoice Notifications Features - View UUID for Rejected E-Invoice

Double-click the UUID to directly navigate to the E-Invoice page, where you can choose whether to cancel the E-Invoice
E-Invoice Notifications Features - Cancel Rejected E-Invoice

The right-side page will display the detailed information of all cancelled E-Invoices. You can also scroll down to view more information
E-Invoice Notifications Features - View Details of Cancelled E-Invoice

E-Invoice Dashboard

Description

An E-Invoice Dashboard is a central, visual interface that shows you an overview of all your e-invoicing activities. It helps you track, monitor, and manage your electronic invoices in real-time.

Think of it like your control panel for everything related to e-invoicing.

How to access E-Invoice Dashboard?

  1. Go to , Click MyInvois Access E-Invoice Dashboard - Step 1
  2. Select Dashboard Access E-Invoice Dashboard - Step 2

How to use the Dashboard to check E-Invoice status?

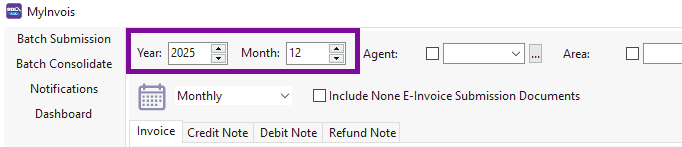
Filter documents by year and month
Note: This refers to the year and month of the submitted E-Invoice

E-Invoice Dashboard Features - Filter by Year and Month

You can change the chart display mode
E-Invoice Dashboard Features - Chart Display Mode

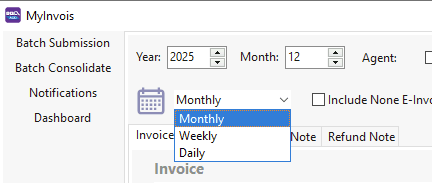
You can filter the E-Invoice status by Agent, Area, and Project

  • Check E-Invoice Status
  • Use the Dashboard to see how many invoices have been submitted as E-Invoices by each agent
  • Track the number of unsubmitted E-Invoices to prevent any omissions
  • Monitor the total invoice amount submitted each month to ensure accurate financial reconciliation

E-Invoice Dashboard Features - Filtering Options

You can also view records of invoices that have not been submitted as E-Invoices to ensure all invoices are checked
E-Invoice Dashboard Features - View None E-Invoice Submission Documents

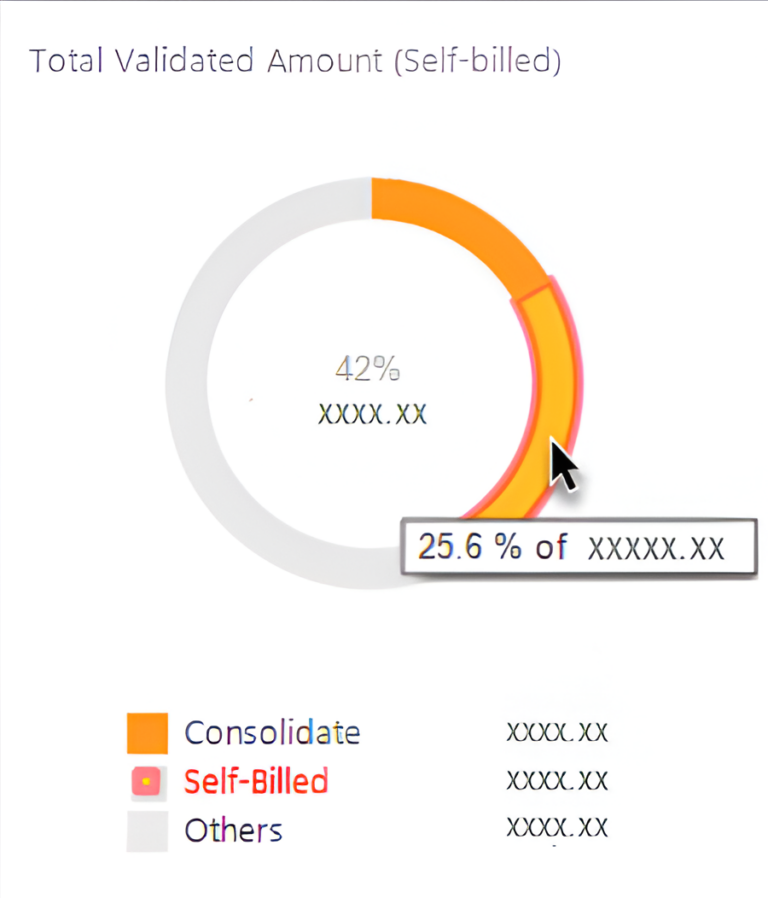
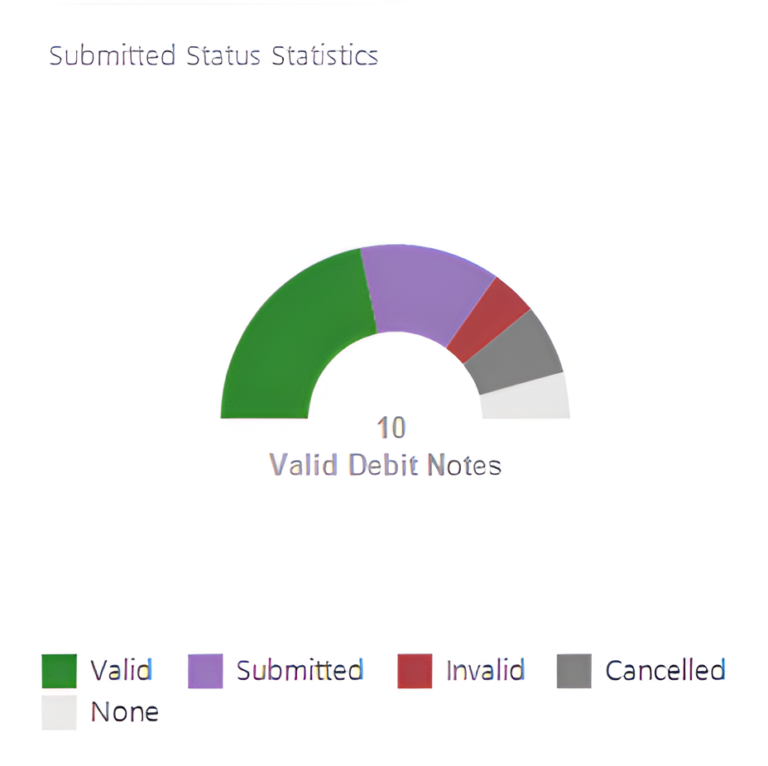
You can view analysis reports for Invoice, Debit Note, Credit Note, and Refund Note
E-Invoice Dashboard Features - View Analysis Reports

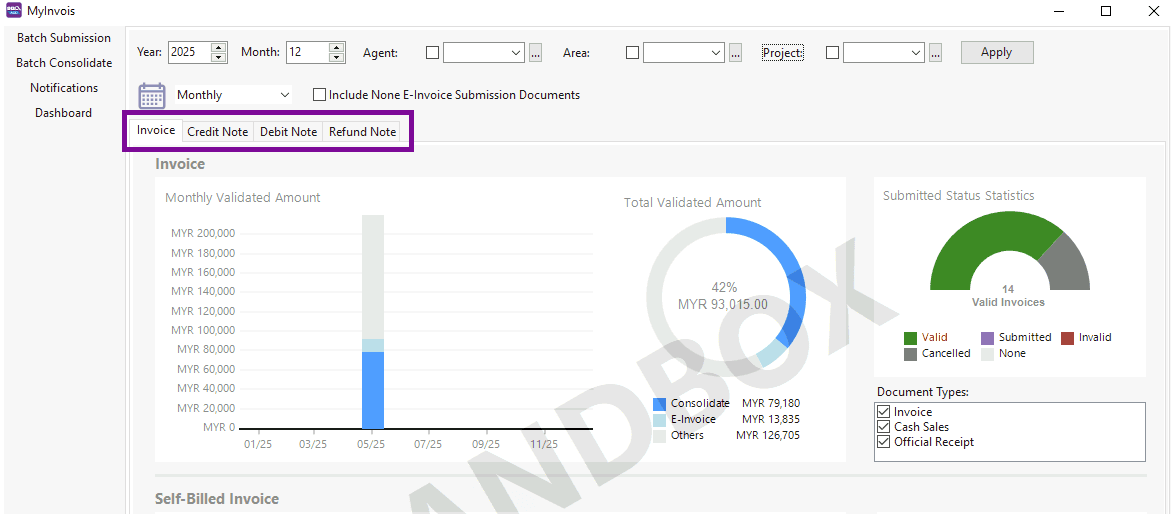
You can view the total amount of Validated E-invoices

Move the cursor over the chart to view the proportion of each data item

Submission status statistics table

It can be divided into the following 5 statuses:
Valid – Verification successful
Submitted – Submitted successfully + Waiting for verification
Invalid – Verification failed
Cancelled – Cancelled
None – None

Share This Page

STEP 1: Scan QR Code to pay

SQL

STEP 2: Click here to email payment info