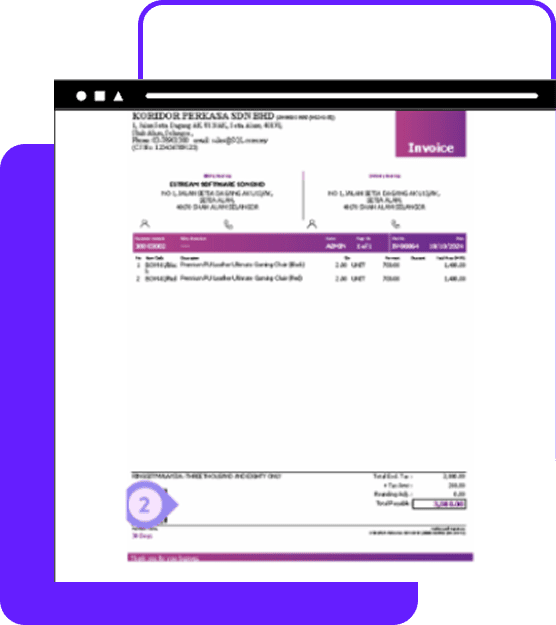
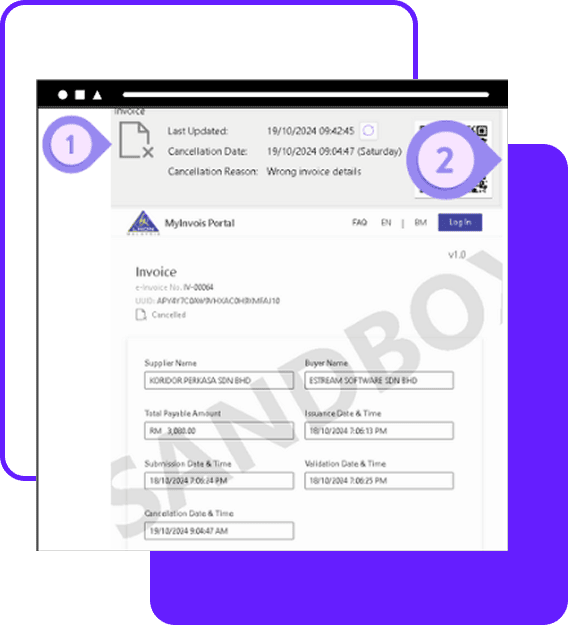
E-Invoice Submission: 4 Easy Steps + How to Cancel | E Stream MSC

Steps to Submit E-Invoice

STEP 1

  1. Open the system as usual (Sales – Invoice – New)
  2. All preset information in the customer profile (Maintain Customer) will be automatically retrieved. Additional details can be edited on the More tab
  3. Classification will be automatically retrieved from Maintain Stock Item
If needed, modifications can be made here

STEP 2

  1. Click MyInvois -
Submit Sandbox E-Invoice to submit.
  2. Sandbox refers to the current connection
is connected with
LHDN MyInvois Prepod test server.

STEP 3

  1. E-Invoice Status = Submitted / Valid / Invalid / Cancelled
  2. A validated e-invoice will have a QR code, which can be used to verify the existence and status of the e-invoice via
MyInvois
  1. Internal Invoice Number
UUID – Generated by LHDN and used for search purposes
  2. Supplier & Buyer Information, Total Invoice Amount,
Document Issuance, Submission & Validation Date and Time
(Displayed in UTC format)

STEP 4

  1. Once the invoice is validated, the SQL format preview will include the QR code, which will be printed together

    If you wish to modify the current format to include the QR code, please contact your service consultant for design customization

Steps to Cancel a Validated E-Invoice

STEP 1

  1. Go to MyInvois – Select Cancel Validated E-Invoice
  1. Provide a reason for cancellation

    Confirm and submit the cancellation request

STEP 2

  1. After submitting the e-invoice cancellation, the QR code on the invoice format will be updated with a new UUID
  1. When the buyer scans the updated invoice, they will be able to view the cancellation details
Share This Page

STEP 1: Scan QR Code to pay

SQL

STEP 2: Click here to email payment info